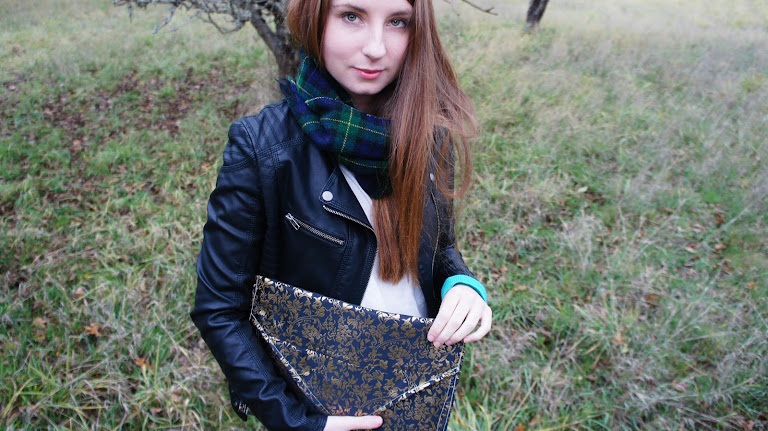
If your sewing room resembles mine, it probably has boxes overflowing with fabric and little jars filled a variety of studs, beads and pearls all scattered about. Lately, I've been looking for quick projects to help me use some up of my supplies and get things organized. This DIY envelope clutch was the just the project! In less than an hour, I transformed some old scraps of fabric into a piece that I can use on a daily basis. If you're wondering what to do with your extra scraps of fabric, why not make a clutch?
Scroll down for the tutorial ♥
Jacket: Warehouse
Jeans: Citizens of Humanity
Scarf: Thrifted
Cardigan: Urban Outfitters
Boots: Primark
========================================================================
Tutorial
What You Will Need:
.5 meter lovely fabric of your choice
.5 meter of sturdy fabric (i.e. vinyl)
matching thread
pins
sewing machine
Step One: Choose the fabric for the exterior. If you don't have any fabric at home, head to your local fabric store (hint: always check out the discount walls or bins first!). It's easy to walk into a fabric store and feel overwhelmed by all of the different prints and patterns. Before you go in, decide what you want your clutch to look like and what you will be using it for. This will minimize the amount of aimless wandering. Will it be a statement piece to brighten up neutral outfits? Or a glittery piece to match your New Years Eve dress?
Step Two: Select a sturdy material for the base. I chose to use a heavy vinyl fabric but it depends if you prefer an envelope clutch that is slightly 'slouchy' or more rigid in shape.
Step Three: Determine the size of the clutch. Measure the height and length of the clutch onto the vinyl. Double the height measurement as you will be folding this in half to create the base of the envelope.
Step Four: Determine the centre of the clutch and create the envelope 'flap'. Now you have the base of your clutch and it should look like an open envelope.
Step Five: Cut out this shape from your pretty, exterior fabric adding half an inch to the edges. Lay the vinyl on top of the pretty fabric and fold the fabric over the edges of the vinyl and pin, as shown. Make sure the exterior fabric is facing outwards!
Step Six: Sew around the edges. Sew carefully around the edges making the sure the gold fabric stays in place and isn't sliding around.
Step Seven: Fold like an envelope and sew the sides together. Fold your clutch up then sew the sides directly together.
Step Eight: Add a pretty clip or button to keep the flap closed. For my clutch, I chose a snap to create a seamless look... Buttons are also cute!
For extra DIY tips, ideas and little tidbits of our life:
-C


